项目地址:
https://github.com/halo-dev/halo
成品:
https://halo.006.cloudns.org
此教程让你的博客数据自动备份,避免数据丢失,没有小鸡/数据没有保障的可以使用教程搭建自己的博客
# 1.申请一个huggingface账号
https://huggingface.co
# 2.创建一个spaces

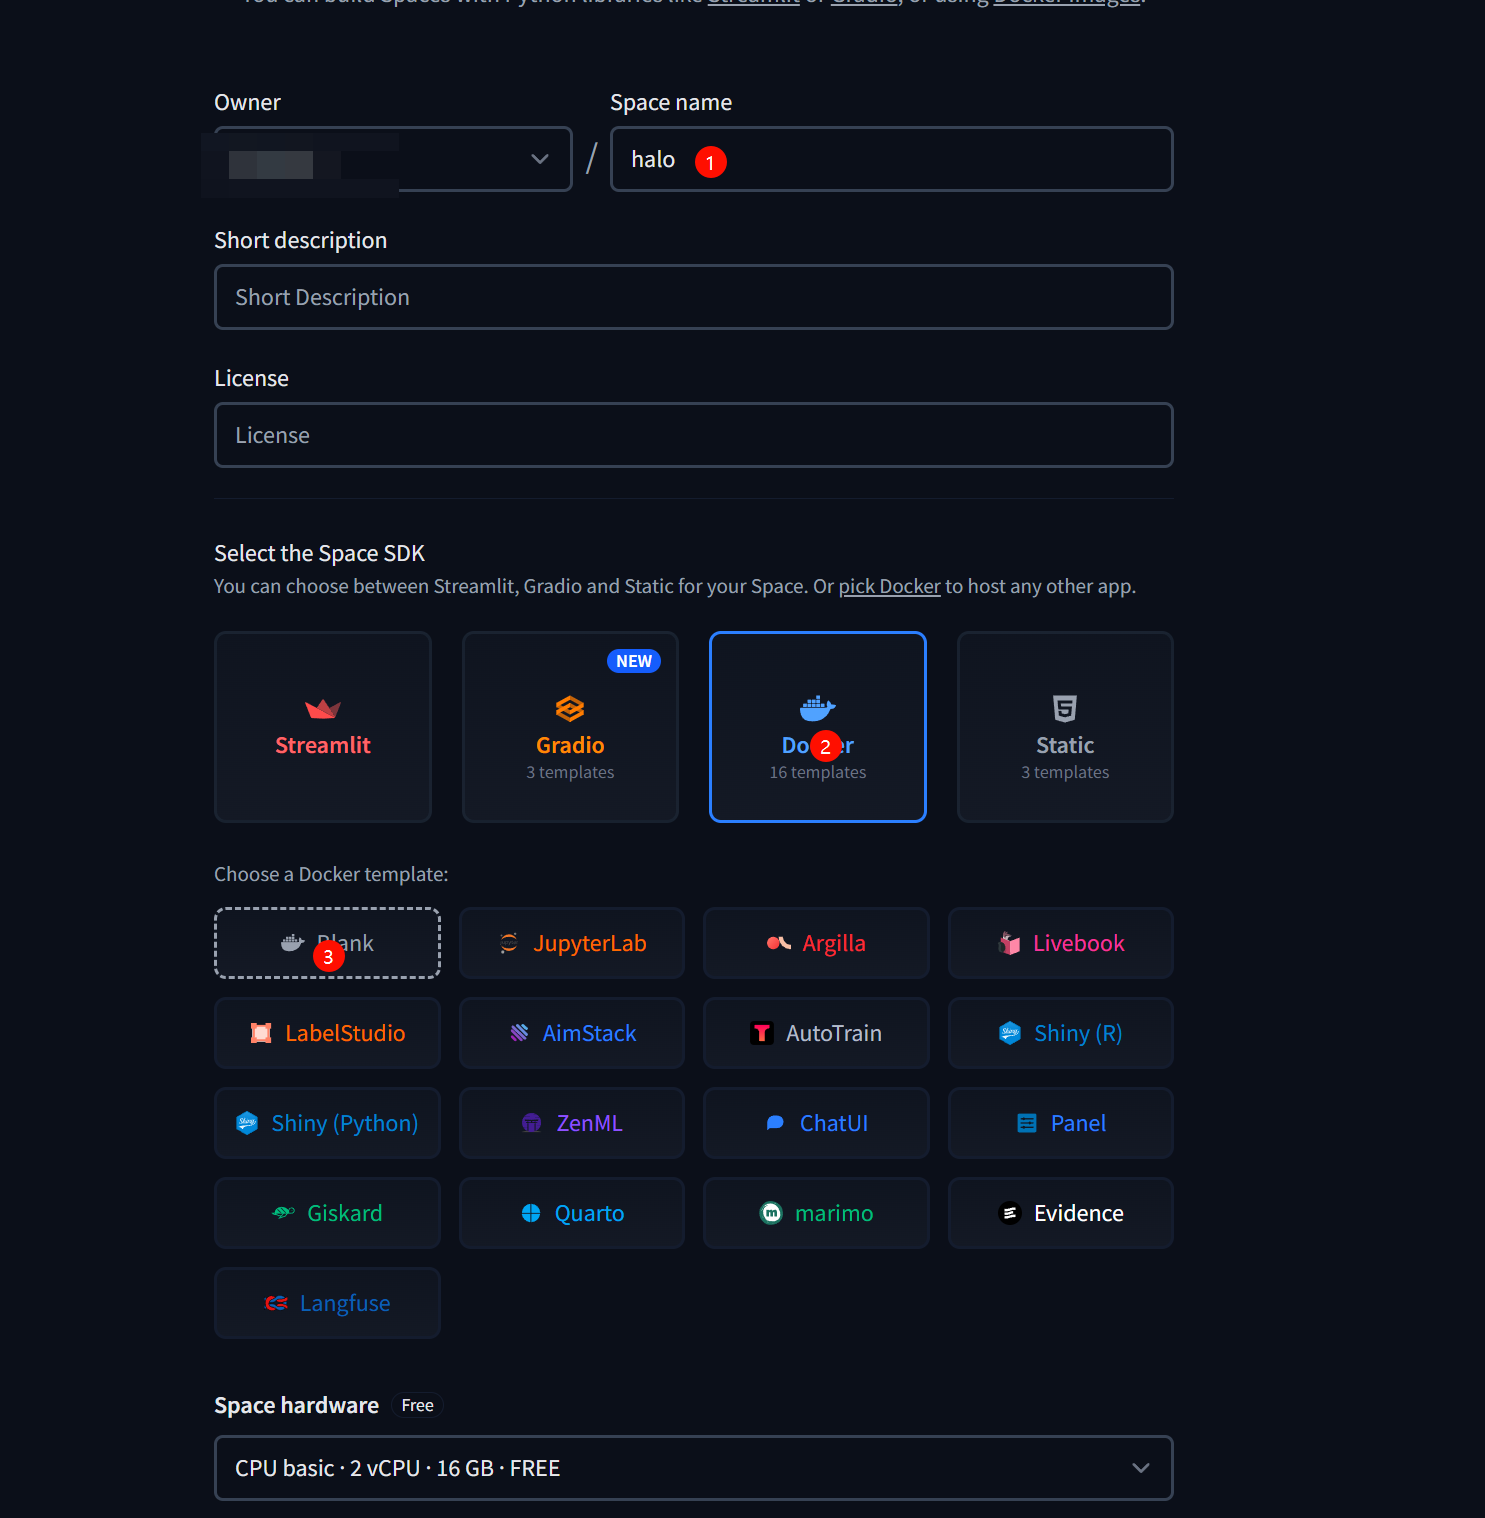

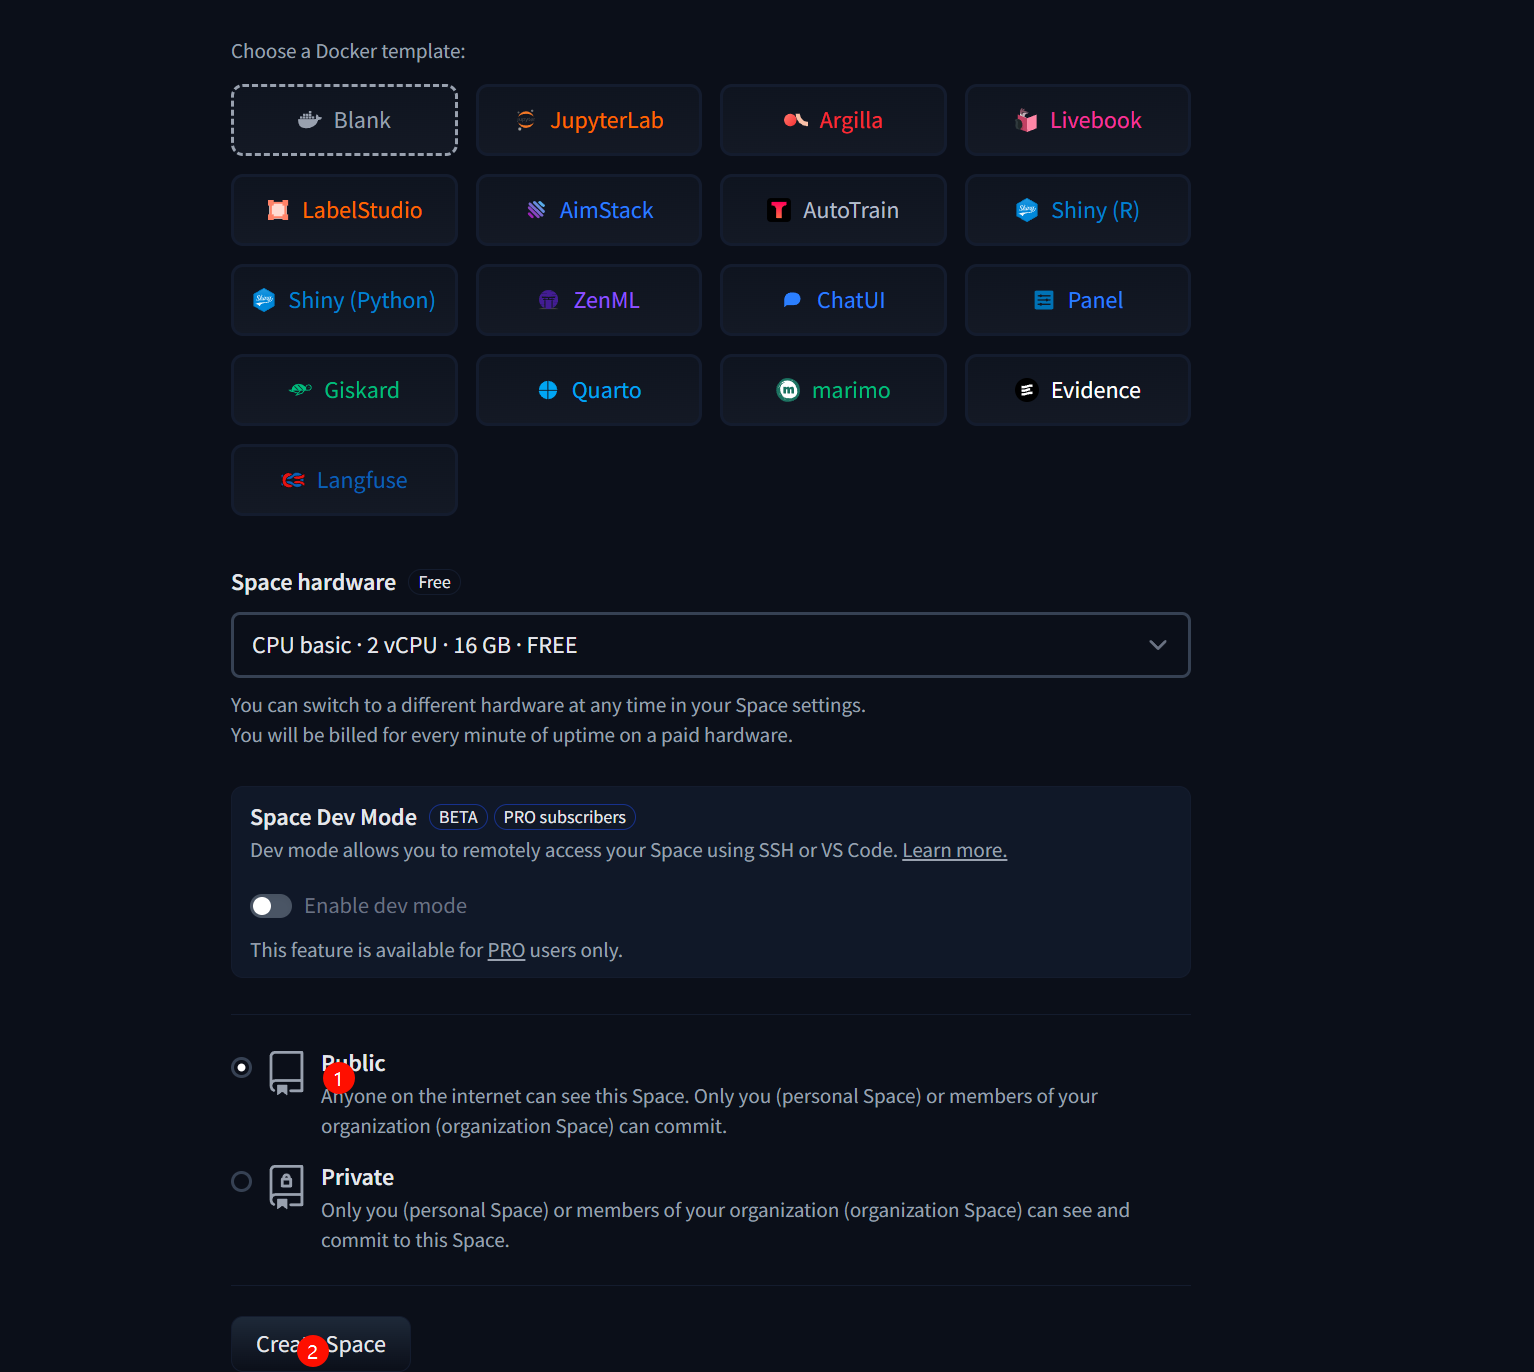


将代码放入其中并保存
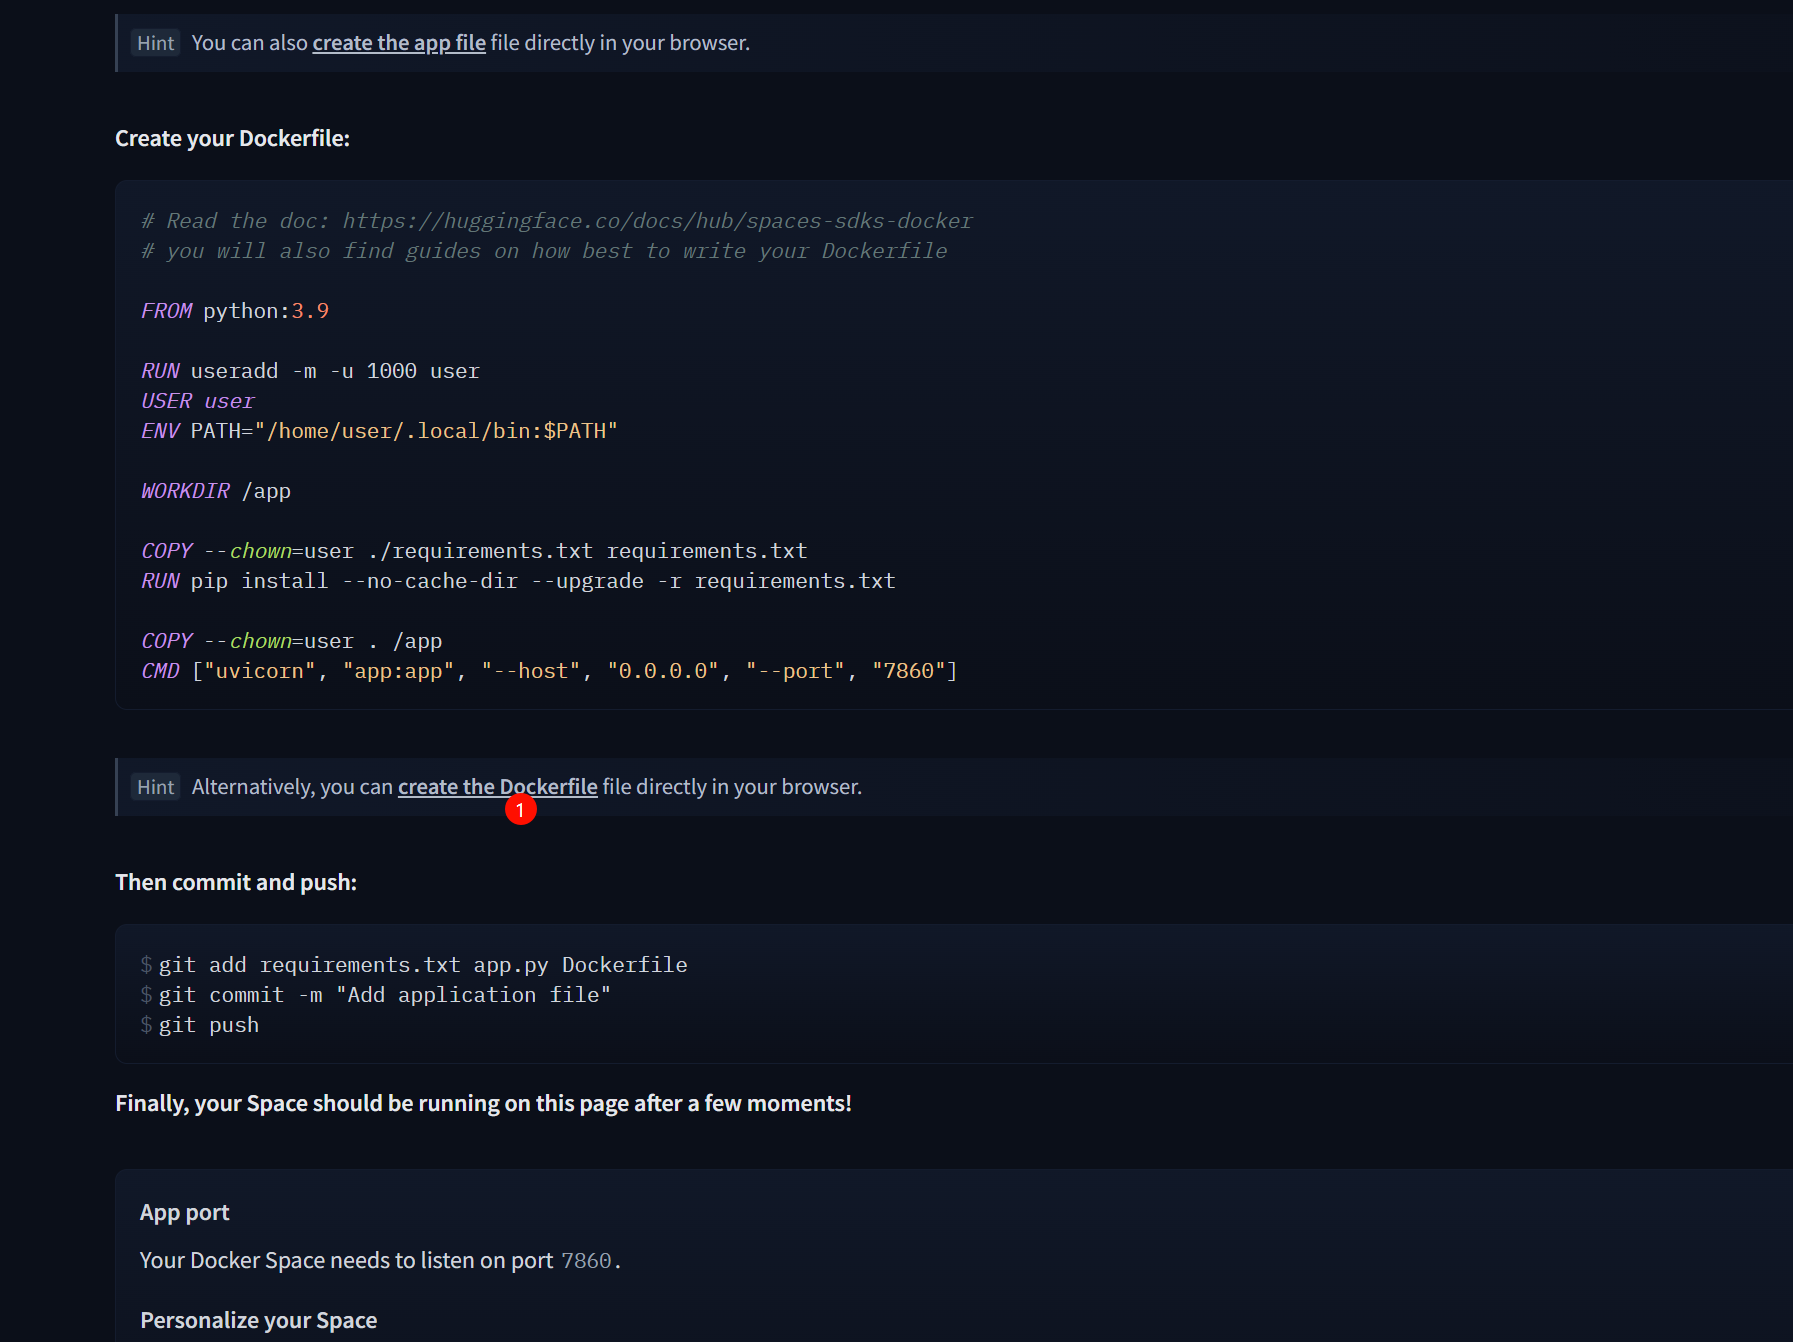
```
FROM eclipse-temurin:21-jre
WORKDIR /opt/halo
ENV TZ=Asia/Shanghai

ENV JVM_OPTS=“-Xmx256m -Xms256m”
RUN apt-get update &&

apt-get install -y wget python3 python3-venv python3-pip tar gzip jq curl  &&

apt-get clean &&

rm -rf /var/lib/apt/lists/*
RUN curl -sL https://api.github.com/repos/halo-dev/halo/releases/latest |

jq -r ‘.assets | select(.name | test(“.jar$”)) | .browser_download_url’ |

xargs curl -L -o halo.jar
RUN mkdir -p ~/.halo2
ENV VIRTUAL_ENV=/opt/venv

RUN python3 -m venv $VIRTUAL_ENV

ENV PATH=“$VIRTUAL_ENV/bin:$PATH”

RUN pip install --no-cache-dir requests webdavclient3
COPY sync_data.sh /opt/halo/

RUN chmod +x /opt/halo/sync_data.sh
EXPOSE 8090
CMD [“/bin/sh”, “-c”, “/opt/halo/sync_data.sh & sleep 30 && java ${JVM_OPTS} -jar /opt/halo/halo.jar”]

```


在`README.md`中添加
```
app_port: 8090
```

# 3.创建sync_data.sh文件


名称为`sync_data.sh`,将代码放入其中并保存
```
#!/bin/bash
检查环境变量
if [[ -z “$WEBDAV_URL” ]] || [[ -z “$WEBDAV_USERNAME” ]] || [[ -z “$WEBDAV_PASSWORD” ]]; then

echo “Starting without backup functionality - missing WEBDAV_URL, WEBDAV_USERNAME, or WEBDAV_PASSWORD”

exec java ${JVM_OPTS} -jar /opt/halo/halo.jar

exit 0

fi
设置备份路径
WEBDAV_BACKUP_PATH=${WEBDAV_BACKUP_PATH:-“”}

FULL_WEBDAV_URL=“${WEBDAV_URL}”

if [ -n “$WEBDAV_BACKUP_PATH” ]; then

FULL_WEBDAV_URL=“${WEBDAV_URL}/${WEBDAV_BACKUP_PATH}”

fi
激活虚拟环境
source /opt/venv/bin/activate
下载最新备份并恢复
restore_backup() {

echo “开始从 WebDAV 下载最新备份…”

python3 -c "

import sys

import os

import tarfile

import requests

import shutil

from webdav3.client import Client

options = {

‘webdav_hostname’: ‘$FULL_WEBDAV_URL’,

‘webdav_login’: ‘$WEBDAV_USERNAME’,

‘webdav_password’: ‘$WEBDAV_PASSWORD’

}

client = Client(options)

backups = [file for file in client.list() if file.endswith(‘.tar.gz’) and file.startswith(‘halo_backup_’)]

if not backups:

print(‘没有找到备份文件’)

sys.exit()

latest_backup = sorted(backups)[-1]

print(f’最新备份文件:{latest_backup}‘)

with requests.get(f’$FULL_WEBDAV_URL/{latest_backup}‘, auth=(’$WEBDAV_USERNAME’, ‘$WEBDAV_PASSWORD’), stream=True) as r:

if r.status_code == 200:

with open(f’/tmp/{latest_backup}‘, ‘wb’) as f:

for chunk in r.iter_content(chunk_size=8192):

f.write(chunk)

print(f’成功下载备份文件到 /tmp/{latest_backup}’)

if os.path.exists(f’/tmp/{latest_backup}‘):

# 如果目录已存在,先删除它

if os.path.exists(os.path.expanduser(’~/.halo2’)):

shutil.rmtree(os.path.expanduser(‘~/.halo2’))

os.makedirs(os.path.expanduser(‘~/.halo2’), exist_ok=True)
        # 解压备份文件
        with tarfile.open(f'/tmp/{latest_backup}', 'r:gz') as tar:
            tar.extractall(os.path.expanduser('~/.halo2'))

        print(f'成功从 {latest_backup} 恢复备份')
    else:
        print('下载的备份文件不存在')
else:
    print(f'下载备份失败:{r.status_code}')

"

}
首次启动时下载最新备份
echo “Downloading latest backup from WebDAV…”

restore_backup
同步函数
sync_data() {

while true; do

echo “Starting sync process at $(date)”
    if [ -d ~/.halo2 ]; then
        timestamp=$(date +%Y%m%d_%H%M%S)
        backup_file="halo_backup_${timestamp}.tar.gz"

        # 压缩数据目录
        tar -czf "/tmp/${backup_file}" -C ~/.halo2 .

        # 上传新备份到WebDAV
        curl -u "$WEBDAV_USERNAME:$WEBDAV_PASSWORD" -T "/tmp/${backup_file}" "$FULL_WEBDAV_URL/${backup_file}"
        if [ $? -eq 0 ]; then
            echo "Successfully uploaded ${backup_file} to WebDAV"
        else
            echo "Failed to upload ${backup_file} to WebDAV"
        fi

        # 清理旧备份文件
        python3 -c "

import sys

from webdav3.client import Client

options = {

‘webdav_hostname’: ‘$FULL_WEBDAV_URL’,

‘webdav_login’: ‘$WEBDAV_USERNAME’,

‘webdav_password’: ‘$WEBDAV_PASSWORD’

}

client = Client(options)

backups = [file for file in client.list() if file.endswith(‘.tar.gz’) and file.startswith(‘halo_backup_’)]

backups.sort()

if len(backups) > 5:

to_delete = len(backups) - 5

for file in backups[:to_delete]:

client.clean(file)

print(f’Successfully deleted {file}.')

else:

print(‘Only {} backups found, no need to clean.’.format(len(backups)))

" 2>&1
        rm -f "/tmp/${backup_file}"
    else
        echo "Data directory does not exist yet, waiting for next sync..."
    fi

    SYNC_INTERVAL=${SYNC_INTERVAL:-600}
    echo "Next sync in ${SYNC_INTERVAL} seconds..."
    sleep $SYNC_INTERVAL
done

}
启动同步进程
sync_data &
```


**备份上限5份,同步时间默认600s**
# 4.注册webdav并开启传输权限
https://infini-cloud.net/en


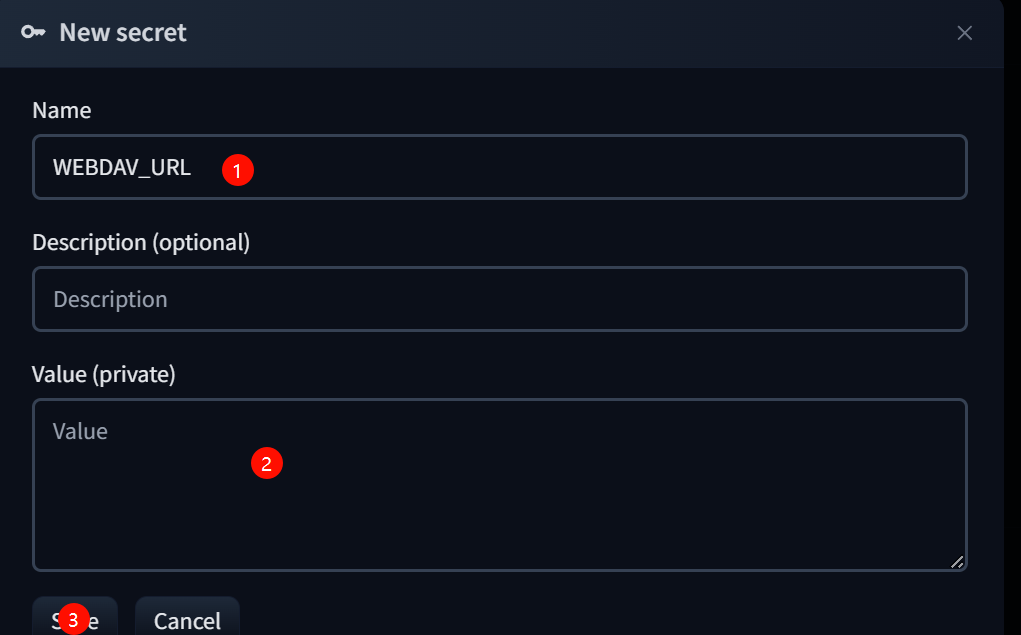
# 5.填入相关变量
```

WEBDAV_URL # webdav的网址,如:https://jike.teracloud.jp/dav
WEBDAV_BACKUP_PATH  # 备份文件夹名(备份文件夹,需要自行在网盘中创建,如halo)
WEBDAV_USERNAME # 用户名
WEBDAV_PASSWORD  # 连接密码,第4步获取到的
SYNC_INTERVAL # 同步时间,默认600
```


# 6.在cloudflare进行反代(非必须)
创建一个worker,代码填入其中,将`xxxx.hf.space`替换为你自己
```
export default {
  async fetch(request, env) {
    const url = new URL(request.url);
    url.host = 'xxxx.hf.space';
    return fetch(new Request(url, request))
  }
}
```